The Property Expenses Page allows you to review, add, or update all of your property's expenses. To go to this page, click on Properties in the Top Navigation Bar, then select a property and click Property Expenses in the Actions Menu to see that property's expenses.
To enter an expense, for the Property, select the "Payee Account" from the drop-down list (the account with Vendor). The Category and Bank Account are defaulted based on settings for the selected Vendor Account. The amount is defaulted based on the previous transaction. Modify any of the defaulted values, enter the invoice number and Memo if you have one. Once you've entered all of the required information, click Add to add the expense.
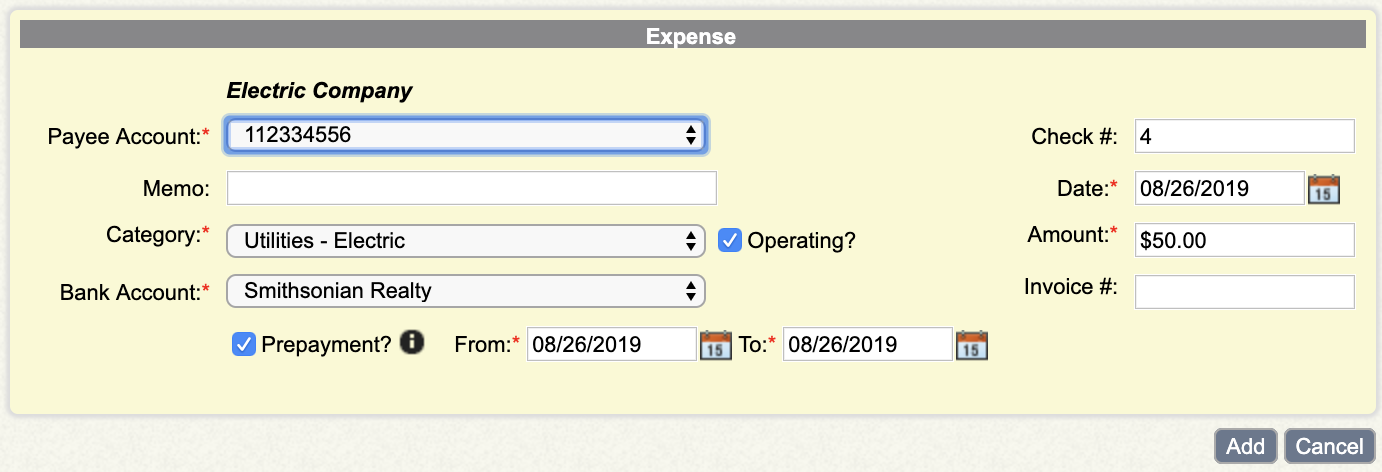
If this expense you're entering covers a specific period, then set a prepayment period for it by checking off the Prepayment Box and entering a date period. The prepayment dates are taken into consideration when performing CAM Reconciliation. As an example, if you're paying for Property Insurance covering part of current year and next year then the payment entered will calculate the amount appropriately for the fiscal year in question.
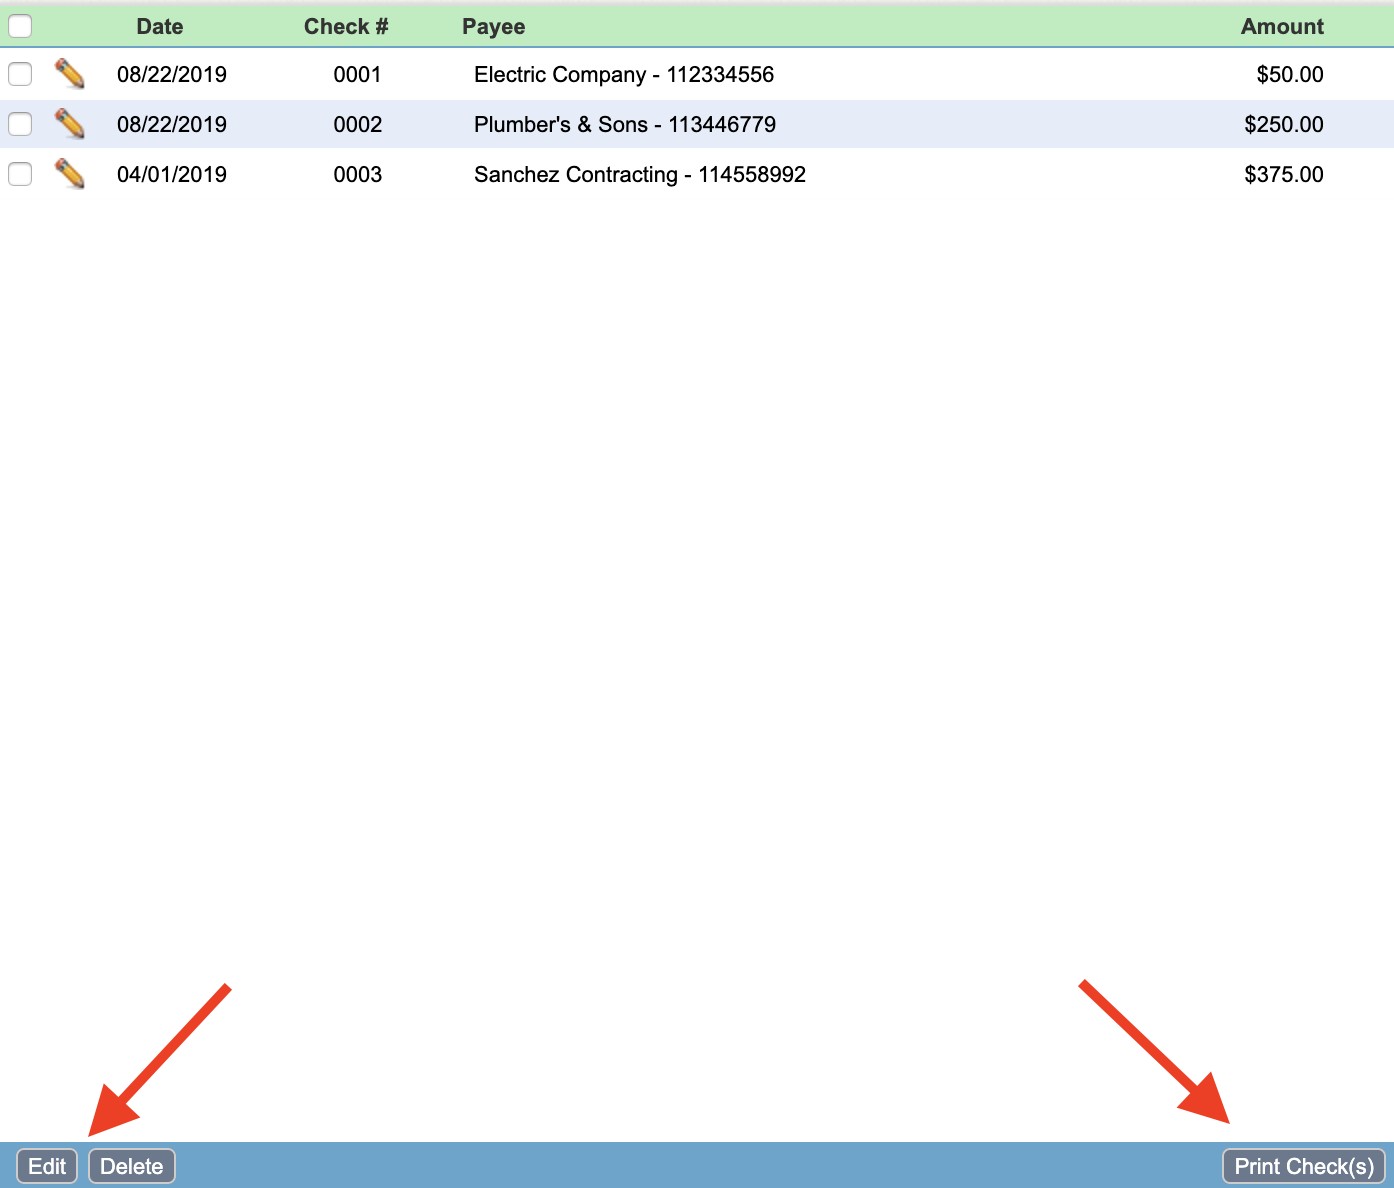
Notice the table on the right that displays your most recent transactions. To edit or delete an expense, select one from the table and use the respective buttons at the bottom of the table.
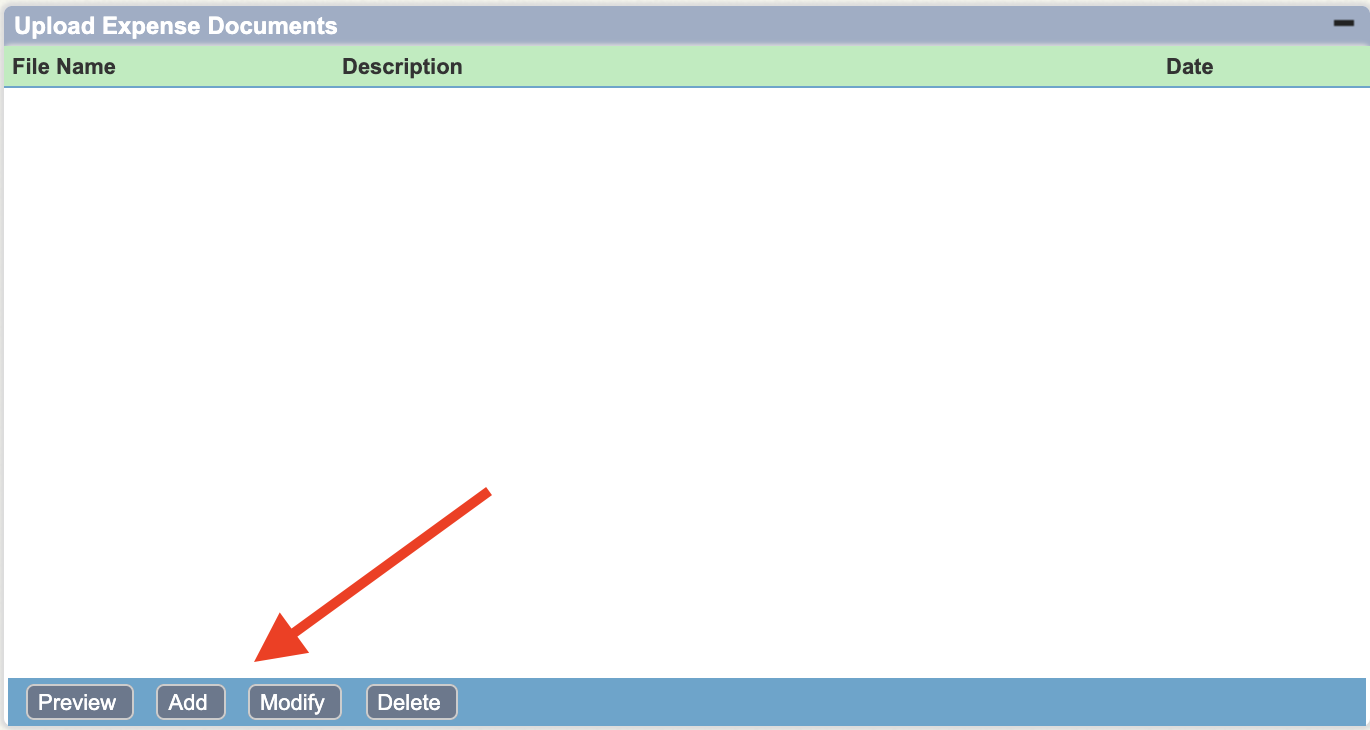
Save any critical documents related to the expense item by using the Upload Expense Documents Table at the bottom left of the page. To upload a document, select an expense, and then click Add. Next, choose a file from your computer and optionally add a description. Click Save to add the document. To preview, modify, or delete an expense document, select an expense, and use the respective buttons to do so.
If you're searching for a specific expense, you can use the expense Filter on the top of the page. Filter using dates, bank account, or transaction amount. Click Search to apply the filter or Clear to reset it.

Comments
0 comments
Please sign in to leave a comment.